How to Integrate BoldSign with Power Automate Without Coding
 Evans Omondi Otieno
TL;DR: You can connect BoldSign to Power Automate with no code by adding the BoldSign connector, picking a trigger and adding an action. A flow can send a document from a template, then file the signed PDF in SharePoint, OneDrive or Teams. Our Power Automate integration page lists every trigger event and action.
Picture an HR coordinator who adds each new hire to a SharePoint list. Next, she opens BoldSign, sends the offer letter and saves the signed copy by hand. On a busy week, a contract waits in someone’s inbox or lands in the wrong folder.
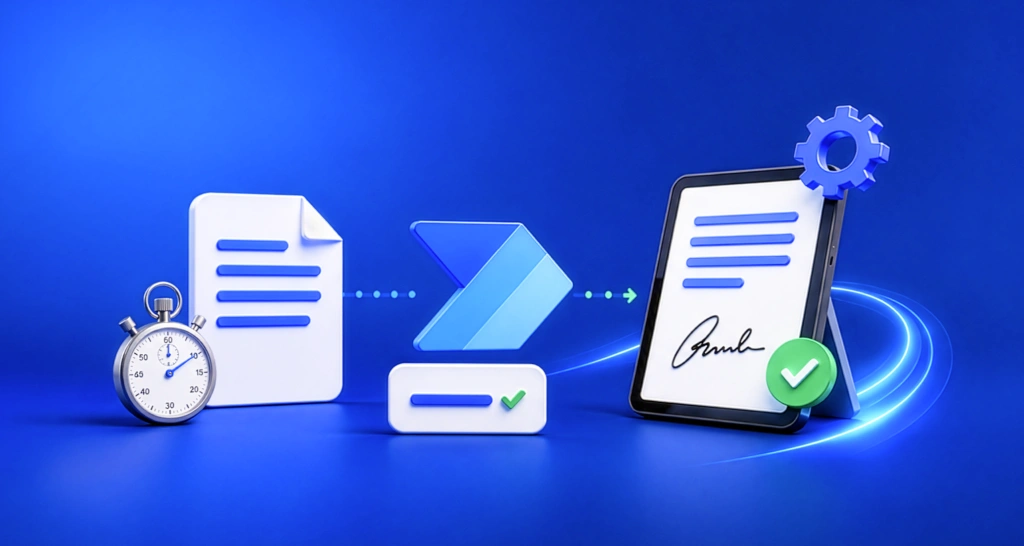
Power Automate lets you hand those steps to a flow. This guide explains what the BoldSign connector does, how to set it up and what to check before you go live.
What does the BoldSign Power Automate connector do?
The connector links BoldSign to Microsoft flows, so a signing step runs on its own. It has one trigger and four actions.
Think of it like a mail room with standing orders. When a letter arrives, staff already know where it goes, so nobody has to ask each time.
The trigger is called Webhook Events. It starts a flow when a document event you choose takes place. You can pick from 12 events, including document sent, signed, completed, declined, revoked and expired.
Turn on team events in the trigger to catch documents your teammates send. Account admins then see events across the organization.
Which actions can a flow run in BoldSign?
A flow can send a document and fetch its results. These are the four actions:
- Send document using template with recipient: sends a signature request built from a BoldSign template.
- Get document status: returns the current status and details of a document.
- Download Document: downloads the PDF file of a document.
- Download AuditTrail: downloads the audit trail of a completed document.
No action sends a reminder, revokes a document or builds a template. Do those in BoldSign itself.
How do you set up BoldSign with Power Automate?
Start with a BoldSign template, then build the flow around it. The whole setup takes five steps.
- In BoldSign, upload the file and name each signer role. Add the fields the flow will fill, then save the template.
- Sign in to Power Automate, open Connections, search for BoldSign, choose your region and sign in.
- Choose the trigger: a BoldSign document event, or a list, form or message in another app.
- Add the BoldSign action, pick the template, and map each signer and field to values from the trigger.
- Run the flow once with Sandbox Mode on, check the result, turn sandbox mode off, and save.
Our eSignature templates page explains how roles and fields work.
How do you save signed documents automatically?
A common flow waits for a signed document and stores it in a folder. Our help article on how to upload newly signed documents to Box follows this pattern.
- Create a flow and choose BoldSign as the trigger app.
- Set the webhook event to Completed.
- Add the Download Document action and map the Document ID field.
- Add a step in your storage app that creates a file from that download.
The same pattern works with SharePoint or OneDrive as the storage app.
How do you send a document from a new record?
A new list item, form entry or record can start the signing request. The flow sends it to whoever that record names.
Our help article on how to send signature requests for new Dynamics 365 records shows one version.
- Choose Microsoft Dynamics 365 CRM (customer relationship management) as the trigger app and select When a record is created.
- Add BoldSign as the action app and choose Send document using template with recipient.
- Map the required fields from the new record.
- Set Sandbox Mode to Yes to test without using API credits, then save.
What can you automate with BoldSign and Power Automate?
Most flows either start a signing request or act on a signed document. Here are some ways teams use them.
Onboarding new employees
HR teams can send contracts and policy documents when someone adds a new hire to a SharePoint list. After signing, the flow tells HR and files the copies in that employee’s folder.
Approvals in procurement
A new purchase record can send the contract to the right people for signature. Use Get document status in a later step to see where each contract stands.
Filing signed copies by team
Completed documents can go straight to the SharePoint folder of the team that owns them. A flow can also pull attachments that signers added and store them with the document.
Consent forms in schools
A school can send consent forms to parents from a form entry. Signed forms then land in a SharePoint folder that office staff can open.
What should you check before a flow goes live?
A few limits shape how you build the flow. Check them before you switch off sandbox mode.
- BoldSign is a premium connector, so your Power Automate plan must include premium connectors.
- Power Automate allows 100 calls per connection every 60 seconds and throttles flows that go over.
- Each person creates their own BoldSign connection, since a connection cannot be shared.
- Sandbox documents carry a test watermark and are deleted after 14 days.
The flow sends through your own BoldSign account, so your existing account controls still apply. Signers open the link in the email and need no account.
Which BoldSign plan do you need, and what does it cost?
A live Power Automate flow needs the Enterprise API plan. It starts at $30 a month with 40 envelopes, and each extra envelope costs $0.75.
Prices are in USD, as listed on our pricing page in November 2026. Billing follows the envelopes your flows send, not seats. You can build and test every flow first with a free API sandbox account that needs no card.
Where do you go next with Power Automate?
Pick the step that fits where you are today.
- Start a 30-day free trial and set up your first template.
- Book a demo to see a flow built for your documents.
- Read the Power Automate webinar recap for more flow examples.
Questions about a flow you already run? Browse our documentation or contact our support team.
Frequently asked questions
Do I need to write code to use BoldSign with Power Automate?
No coding is needed. You build the flow in the Power Automate designer by picking a trigger, then adding BoldSign actions and mapping fields.
What can the BoldSign connector do in Power Automate?
It has one trigger and four actions. The trigger starts a flow on a document event, and the actions send from a template, check status, and download the PDF or audit trail.
Can a Power Automate flow send a document without a BoldSign template?
No, the send action needs a saved BoldSign template. Set the template up first with its signer roles and fields, then point the flow at it.
Do signers need a BoldSign account to sign?
Signers need no account. They open the link in the email and sign, with nothing to install.
How do I test a flow without sending a real document?
Set Sandbox Mode to Yes in the send action. The flow runs, but the document is marked as a test and is deleted after 14 days.
Can a flow send documents on behalf of a teammate?
Yes. Use the On behalf of field in the send action, and the document goes out from that teammate with the brand chosen for it.
Can my team share one BoldSign connection in Power Automate?
Each person creates their own connection. A BoldSign connection cannot be shared, even inside a shared app.
Which BoldSign plan do I need for Power Automate?
A live flow needs the Enterprise API plan, from $30 a month with 40 envelopes. You can build and test for free with a sandbox account first.

Evans Omondi Otieno
Evans Omondi Otieno is a customer support representative and writer at BoldSign, specializing in creating clear, insightful content to help users navigate eSignature solutions. As a blog author, Evans writes well-researched articles that simplify technical concepts, helping businesses and professionals understand how to use BoldSign effectively. With expertise in technical support and content creation, he ensures users have a seamless experience and gain valuable knowledge from his articles.
More posts by Evans Omondi Otieno