Adding Form Fields to eSignature Documents Using the BoldSign API
 Gopinath Kannusamy
TL;DR: The BoldSign API gives you five ways to add form fields to a document. You can send from a template, set exact positions or auto-detect the fields in a fillable form. Your users can also drag and drop fields in your app, or you can place them with text tags. Our eSignature API page shows what else the API can do.
Your app sends contracts, forms or agreements for signature, and each one needs fields in the right places. A signature box on page 3, a date next to it and a few text boxes for names and addresses.
Placing those fields by hand for every document does not scale. This guide walks through each method with sample requests, so you can choose the right one for your documents.
What are form fields in an eSignature document?
Form fields are the parts of a document that a signer fills in, such as a signature, a date or a text box. Each field belongs to one signer and sits at one spot on one page.
Think of a paper form with blank lines and boxes to tick. Form fields are those blanks, made digital and tied to the person who must fill them.
We support 17 field types, from signature and initials to dropdown, image and formula fields. Our help article on what form fields and properties are available in BoldSign lists each one with its settings.
How do you add form fields to documents with the BoldSign API?
You can add fields in five ways, and each suits a different kind of document. The sections below cover them in this order:
- Send from a template that already holds the fields.
- Give each field exact coordinates in the request.
- Turn the fillable fields in a form into BoldSign fields.
- Let your users drag and drop fields in your own app.
- Write text tags into the document before you upload it.
How do you send documents with form fields from a template?
Save the document as a template with its fields and roles in place, then send it as often as you need. Each field is linked to a role, such as a signer, so the right person fills it.
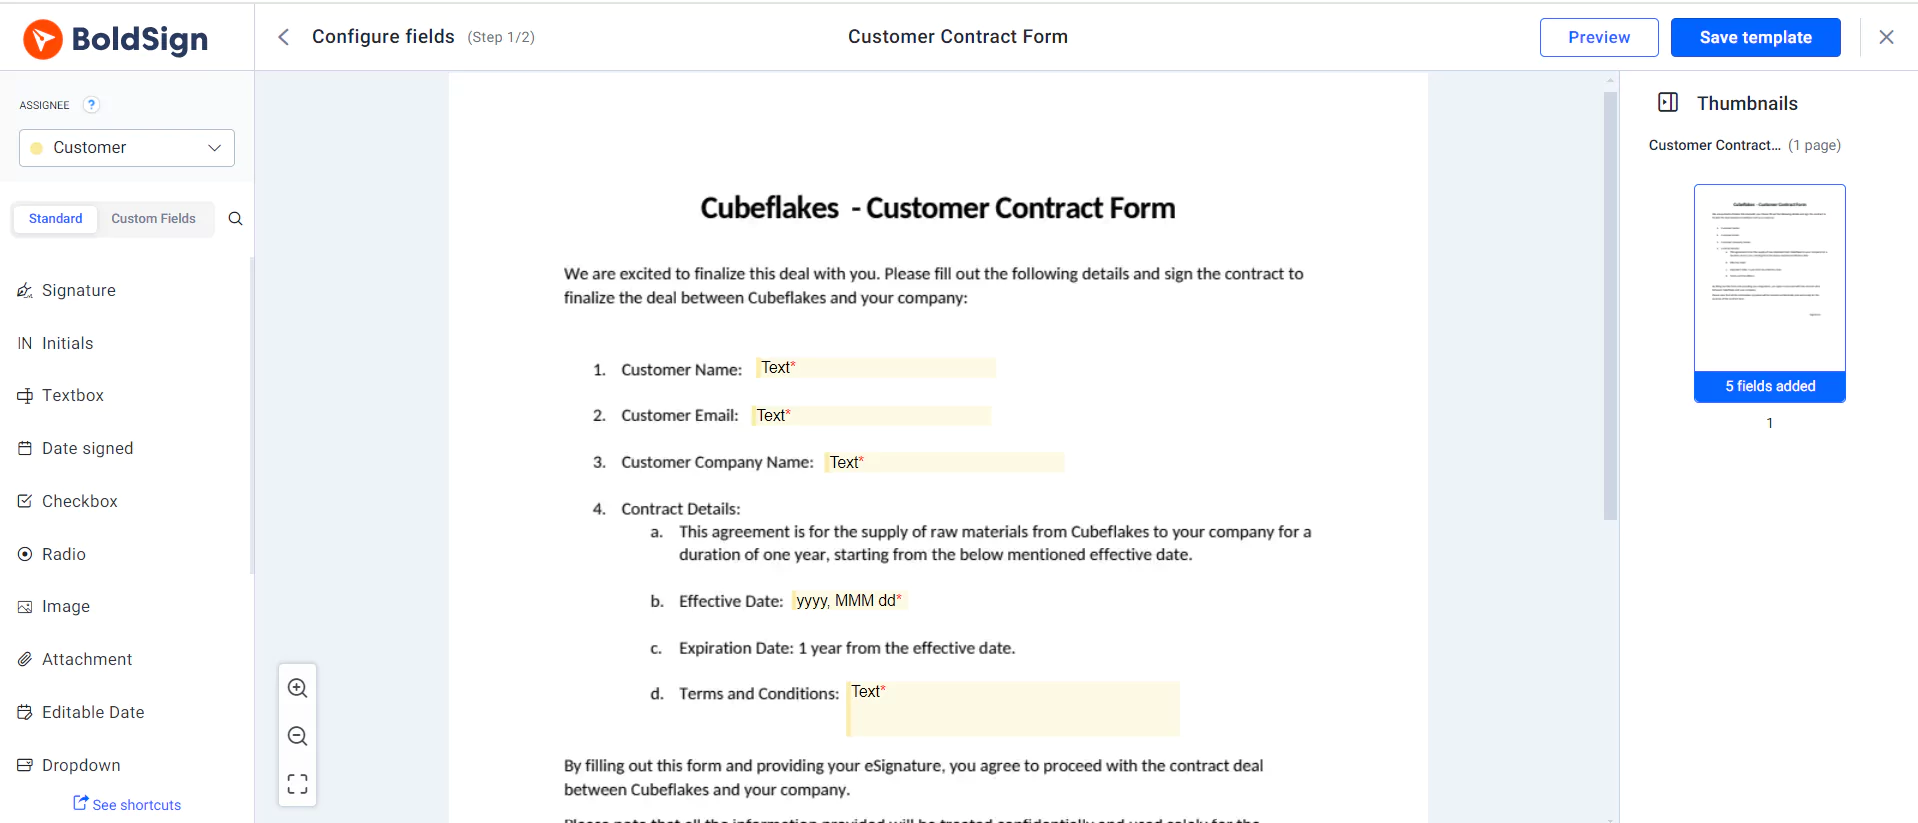
Templates suit documents you send again and again, such as contracts or agreements. You can also fill in field values before you send, which cuts typing errors. Our guide on how to prefill form details before sending a document for signature shows how.
How do you place form fields at exact positions?
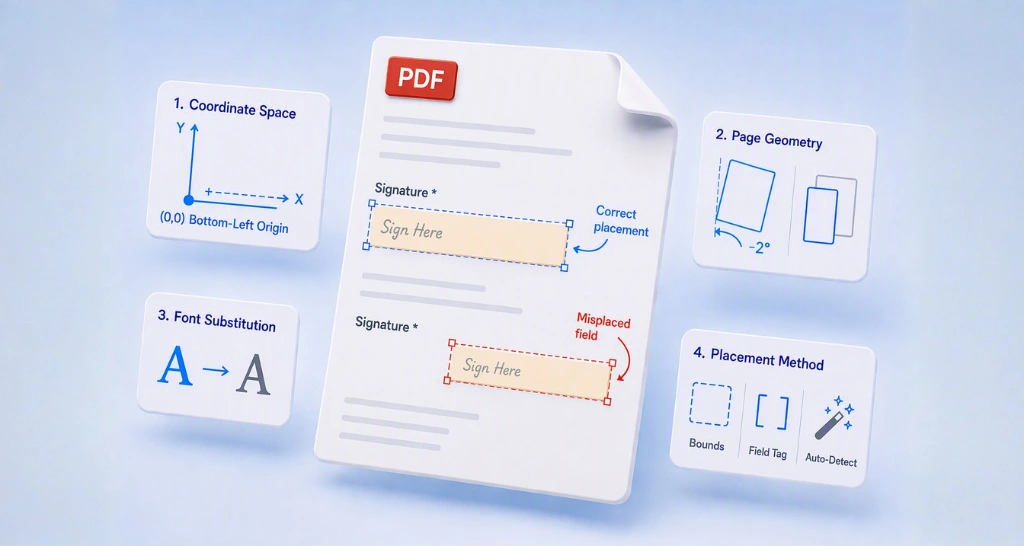
Set the x, y, width and height of each field’s bounds, along with its page number. Use this method when you know where each field must sit on the page.
Exact bounds help with complex layouts, or when a field must line up with text already in the document. Width and height must each be greater than zero. The request below adds a signature field and a text box for one signer.
curl -X POST \
  'https://api.boldsign.com/v1/document/send' \
  -H 'accept: application/json' \
  -H 'X-API-KEY: {your API key}' \
  -H 'Content-Type: multipart/form-data' \
  -F 'Message=' \
  -F 'Signers=[
  {
    "name": "Hanky",
    "emailAddress": "hankyWhites@cubeflakes.com",
    "signerType": "Signer",
    "formFields": [
      {
        "id": "signature1",
        "fieldType": "Signature",
        "pageNumber": 1,
        "bounds": {
          "x": 50,
          "y": 50,
          "width": 100,
          "height": 20
        },
        "isRequired": true
      },
      {
        "id": "textbox1",
        "fieldType": "Textbox",
        "pageNumber": 1,
        "bounds": {
          "x": 100,
          "y": 100,
          "width": 100,
          "height": 20
        },
        "isRequired": true
      }
    ]
  }
]' \
  -F 'locale=EN' \
  -F 'Files=@{your file}' \
  -F 'Title={title}'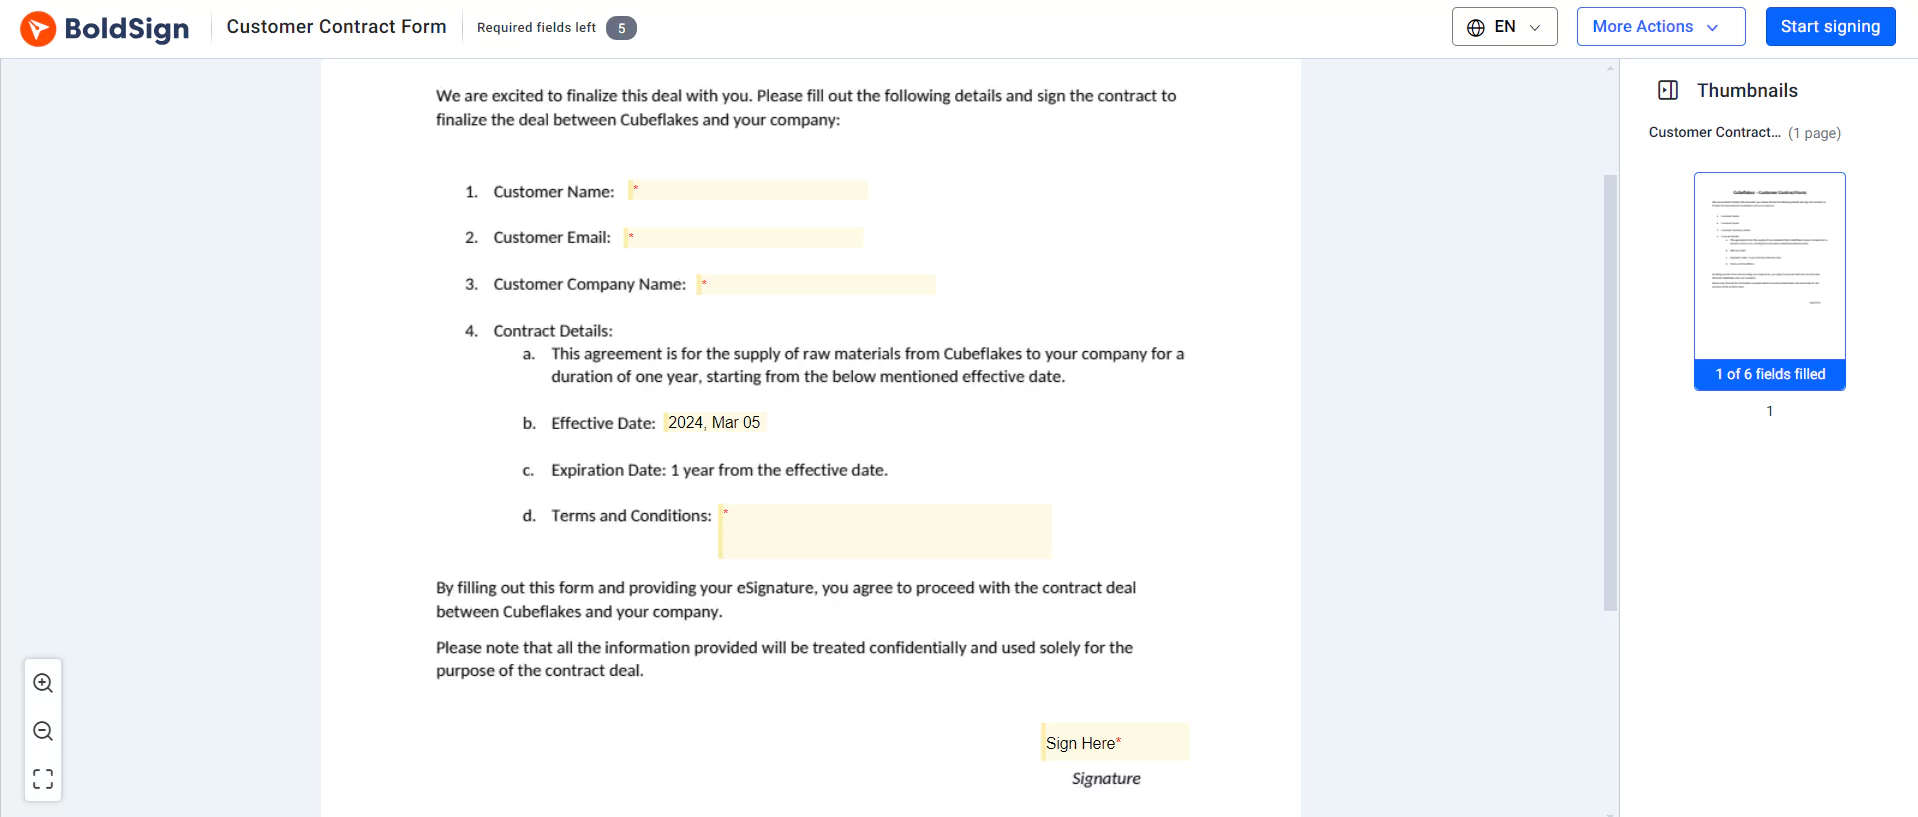
How do you auto-detect form fields in a fillable document?
Set AutoDetectFields to true when you send a fillable form. We then swap its fillable fields for matching BoldSign fields, so you set up nothing by hand.
Auto-detection works for these field types:
- Text box
- Checkbox
- Radio button
- Signature
Other field types in the form are left as they are. The request below sends a fillable file with auto-detection turned on.
curl -X POST \
  'https://api.boldsign.com/v1/document/send' \
  -H 'accept: application/json' \
  -H 'X-API-KEY: {your API key}' \
  -H 'Content-Type: multipart/form-data' \
  -F 'AutoDetectFields=true' \
  -F 'Message=' \
  -F 'Signers={
  "name": "Hanky",
  "emailAddress": "hankyWhites@cubeflakes.com",
  "signerType": "Signer",
  "locale": "EN"
}' \
  -F 'Files=@{your fillable file}' \
  -F 'Title={title}'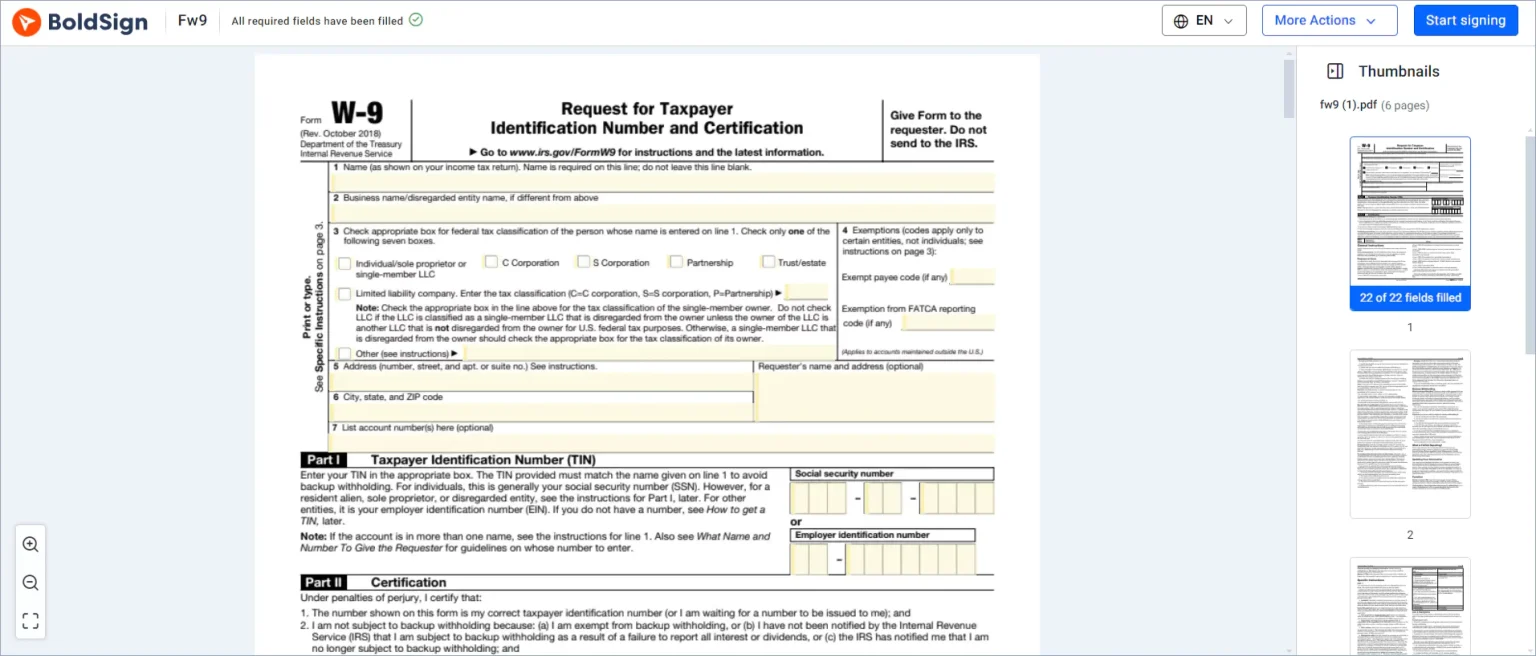
How do your users drag and drop form fields in embedded requests?
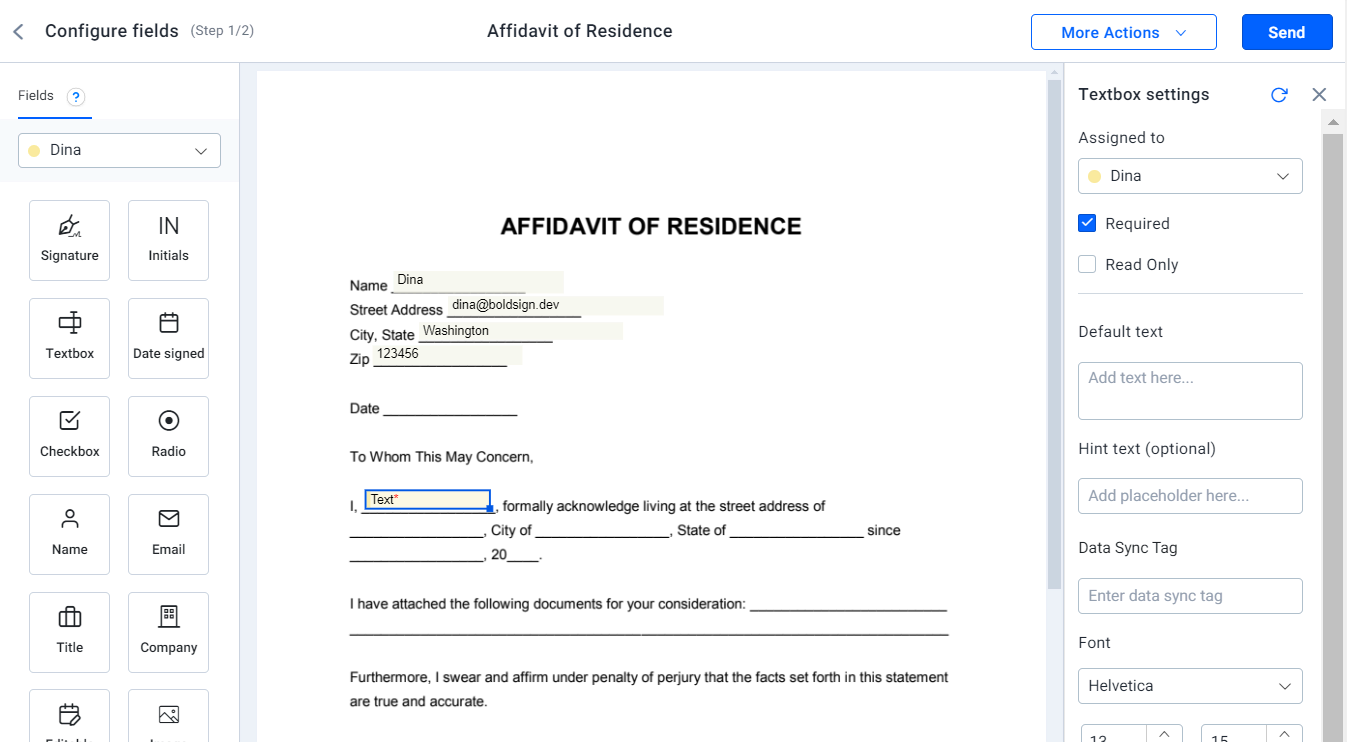
Create an embedded request URL and load it in your app or website. Your users then drag form fields onto the document themselves, without leaving your site.
Your users can also add signers, upload more files and send the document from that page. The document stays a draft until they send it. Our guide to embed document creation into your application covers the request and its display options.
How do text tags add form fields to documents automatically?
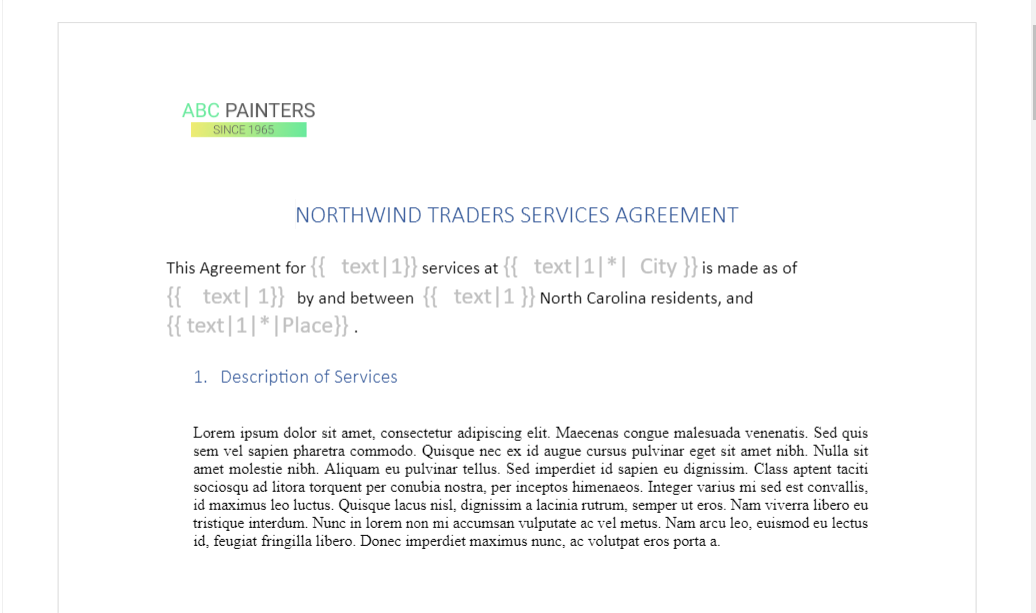
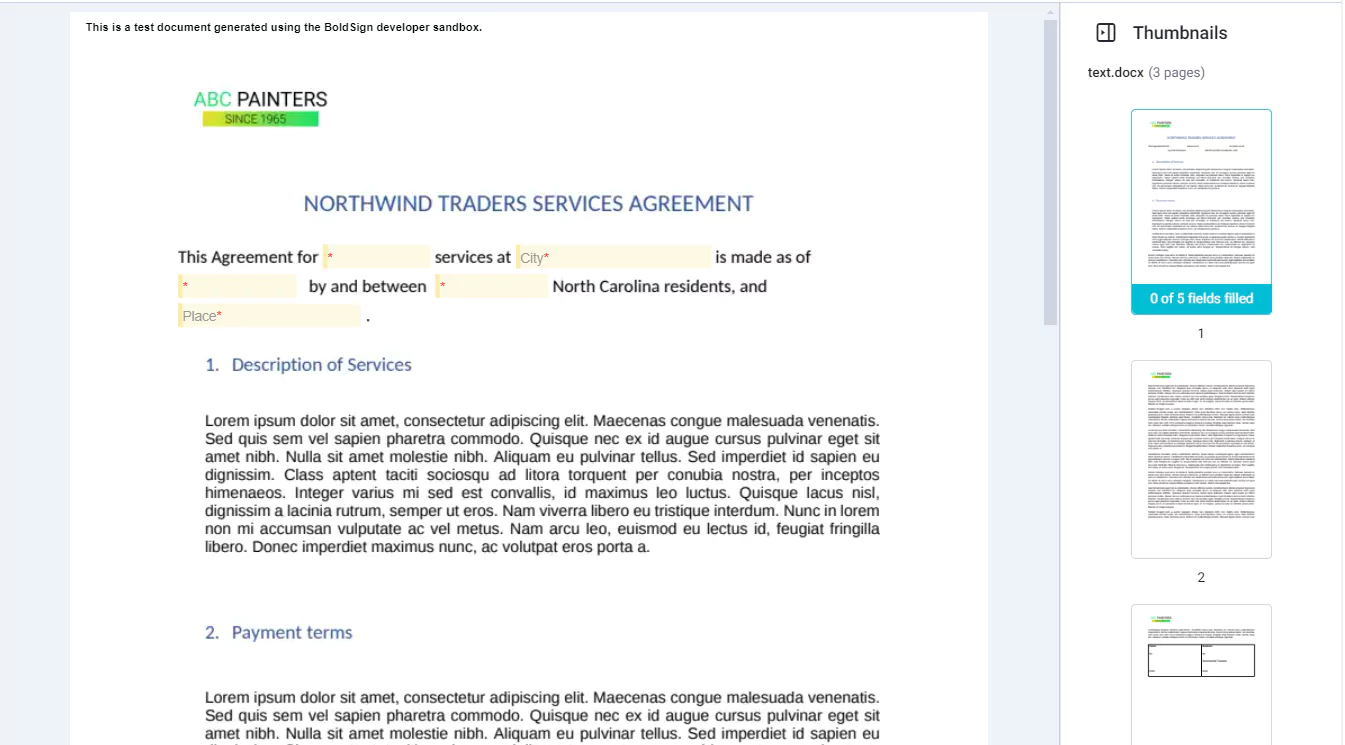
Text tags are short pieces of text in the document that mark where each field goes and what type it is. Send the file with UseTextTags set to true, and we replace every tag with a form field.
A tag starts with {{ and ends with }}, with its details split by pipe symbols. For example, {{text|1|*|Enter name|field_1}} adds a required text box for the first signer. Our text tags introduction explains each part.
Long tags can be too wide for a small field. Use definition tags instead: the document holds a short ID such as {{@tag1}}, and the full settings go in your request.
What should you check before you send?
A few limits from our send document reference can stop a request. Check them while you build your app.
- Upload PDFs, images or Office files, though PDF is the preferred format.
- Each request takes up to 25 files, and each document up to 25 megabytes and 1,000 pages.
- Text tags stay as plain text unless UseTextTags is set to true.
- Auto-detection skips field types beyond the four listed above.
Which BoldSign API plan do you need, and what does it cost?
Live API requests need the Enterprise API plan, from $30 a month with 40 envelopes, as listed on the BoldSign pricing page in November 2026. Each extra envelope costs $0.75, and prices are in USD.
The plan also covers templates and embedded requests. To build and test first, use the free sandbox. It needs no credit card, and its documents carry a test watermark and are deleted after 14 days.
Where do you go next with form fields?
Try each method on a sample document before you build it into your app.
- Create a free API sandbox account and send your first document with form fields.
- Book a demo to see which method fits your documents.
- Visit our support portal with a question about your setup.
Frequently asked questions
What form fields can I add with the BoldSign API?
You can add 17 field types, including signature, initials, text box, date signed, checkbox, radio button, dropdown, attachment, image and formula fields. Each type has its own settings, such as required or read-only.
Are there APIs that add signatures to documents automatically?
Yes, for the signature fields. The BoldSign API can place signature fields for you from text tags or from the fillable fields in a PDF. The signer still adds the signature itself.
I need to add signature fields to PDFs that our users fill out in Google Docs. Which APIs support this kind of hybrid workflow?
The BoldSign API handles it with text tags. Users type a text tag where each signature goes, export the file as a PDF and you send it with UseTextTags set to true.
What does AutoDetectFields do in the BoldSign API?
It turns the fillable fields of an uploaded form into BoldSign fields when you send the document. It works for text box, checkbox, radio button and signature fields, and it is off by default.
How do I set the exact position of a form field?
Give the field a page number and bounds: x, y, width and height. Width and height must be greater than zero, and the field appears at those coordinates on that page.
What are text tags in BoldSign?
Text tags are short pieces of text in your document, written between double curly brackets. We swap each tag for a form field when you send the file with UseTextTags set to true.
Can my users place form fields inside my own app?
Yes. Create an embedded request URL and load it in your app. Your users then add signers, set up form fields and send the document without leaving your site.
Can I test the BoldSign API for free?
Yes. The free sandbox needs no credit card. Its documents carry a test watermark and are deleted after 14 days, so you can try every method in this guide first.

Gopinath Kannusamy
Gopinath is a passionate software developer with 2 years of experience at BoldSign. He is an avid writer and enjoys sharing his insights on technology and development. In his free time, he enjoys exploring new technologies and learning new things. Connect with him on LinkedIn.
More posts by Gopinath Kannusamy