Webinar Show Notes: Protect Agreements with ID Verification in BoldSign
 Carter Harris
TL;DR: This webinar shows how to ask signers to prove who they are with a government ID before they open a document. You turn on signer identity verification per signer, choose how strict the checks are, and review any failed check by hand. The recording and these notes walk through each setting.
You send a contract to an email address, and someone signs it. You know the email account was used, but not who held it. For a loan form, a lease or a large sale, that gap matters.
In this webinar from August 2025, Syncfusion® Software Developer Harini Chellappa showed how ID verification in BoldSign closes it. These notes follow the session and add what each setting means for your signers.
Where can you watch the ID verification webinar?
The full recording is on our YouTube channel and below. The session runs for about 13 minutes.
Time stamps: introduction
[00:00] Introduction
[00:19] What is BoldSign?
[00:47] Why identity verification matters
[01:33] Agenda overview
[02:15] Industry statistics on fraud and compliance
Time stamps: demo and settings
[03:10] How BoldSign ID verification works
[03:31] Demo: enabling ID verification
[04:52] Signer identity verification process
[06:25] Customizing verification settings
[06:54] ID verification frequency options
[07:58] Name match tolerance settings
Time stamps: review and wrap-up
[10:29] Selfie check and live document capture
[10:50] Tracking ID verification documents
[11:39] Manual verification and downloading images
[12:42] Closing remarks and social media follow
[13:16] Try BoldSign and contact support
What is ID verification for eSignatures?
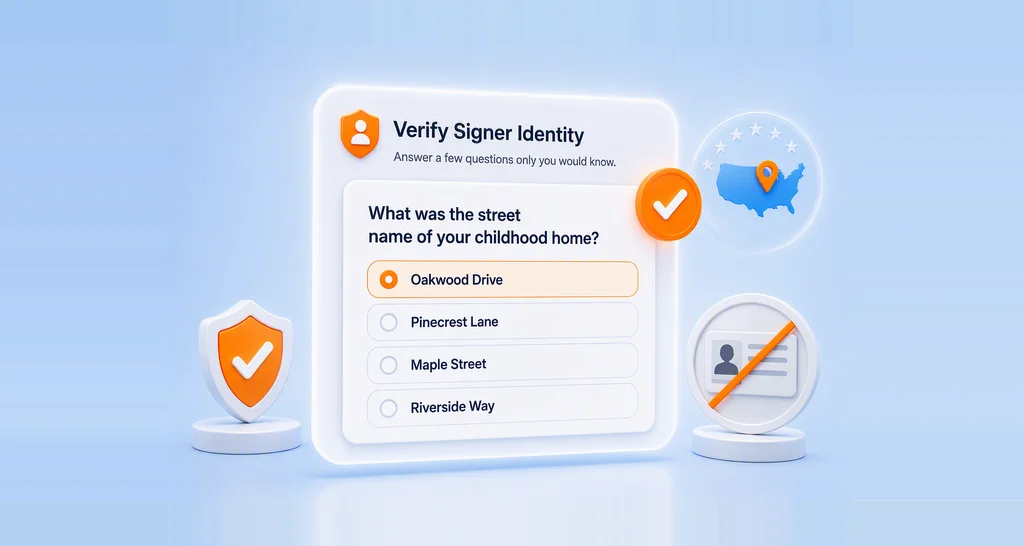
ID verification asks a signer to show a government ID before they can open your document. A system then checks that the ID is real and that the name on it matches the signer you named.
Think of a hotel desk asking for your passport at check-in. A booking under your name is not enough. The clerk wants to see that the person at the desk is the person on the booking.
Other guides cover the wider picture. Read how ID verification methods prevent “I didn’t sign this” claims, or why identity checks matter more in the age of artificial intelligence (AI). This recap stays with the setup itself.
How do you send a document with ID verification in BoldSign?
You turn ID verification on for each signer while you prepare the document. The demo at 03:31 shows these steps.
- Upload your document in the Add file(s) section.
- Enter the signer’s name exactly as it appears on their ID, with no nicknames.
- Select Settings, turn on Authentication and choose Identity Verification.
- Select Next, add the signature field and any other fields.
- Select Send.
Our help article on how to send a document with identity verification covers each step.
What does the signer see?
The signer opens your email, selects Review and sign, then photographs their ID and takes a selfie. This all happens before the document opens.
Signers can also scan a quick response (QR) code to finish on their phone.
The document opens once the ID and the name match. The certificate of completion then records who verified, the provider, the session ID and the time.
Which ID verification settings can you change?
Each setting trades signer effort against how sure you are of who signed, and the session covers them from 06:25.
Our help article on identity verification settings lists the defaults.
How often should signers verify?
The frequency setting decides when a signer is asked again. You can pick one of three options.
- Every Access asks each time the signer opens the document. It is the default.
- Until Signed asks on each visit until the signer signs.
- Once per Document asks only once.
Pick Every Access for high-value agreements that stay open for days. Once per Document suits a quick form that a known signer completes in one visit.
How closely must the name match?
The name match tolerance sets how strictly the signer’s name must match their ID. Strict is the default.
Moderate allows differences in the middle name, prefix and suffix. Lenient also allows small spelling mistakes. A looser setting means fewer failed checks, but a weaker match.
What else can you require?
A few more settings shape each check. Most of them are on by default.
- Require selfie check compares the ID photo with a selfie.
- Require live document capture asks for a live photo of the ID through the camera.
- The number of attempts runs from 1 to 10, with 3 as the default.
- Passports and driver’s licenses are accepted, and national ID cards can be allowed.
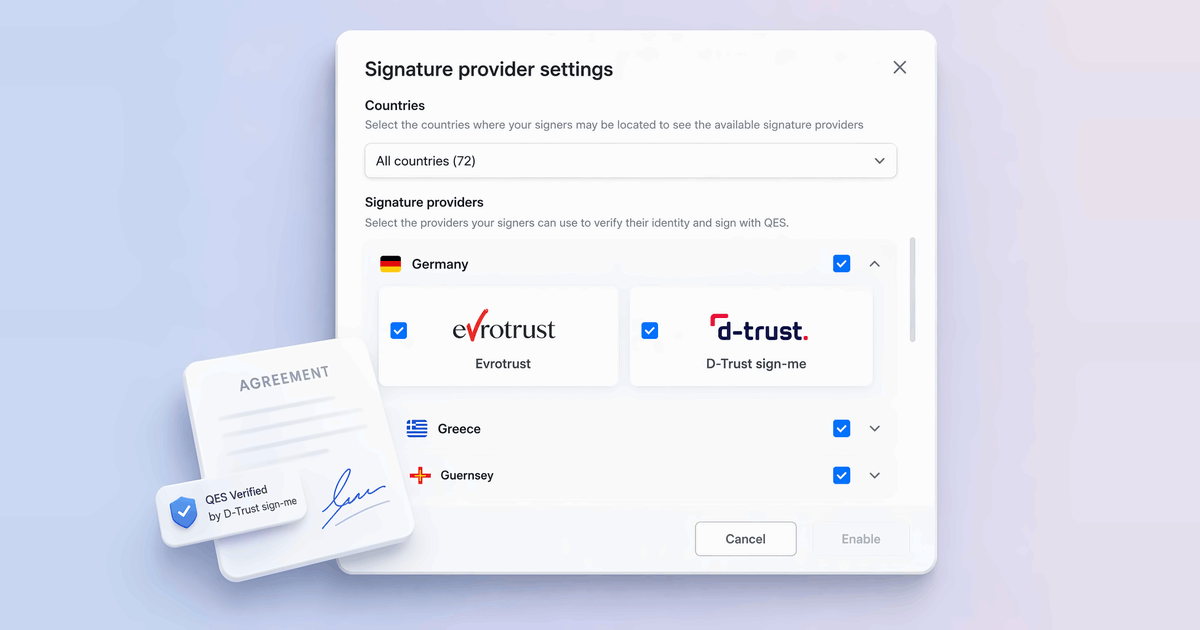
You can also limit the issuing countries you accept. That choice sits in your Business Profile settings and applies to your whole account.
What happens when a check fails?
A signer who uses up their attempts cannot open the document. You can then reset their attempts or review their upload yourself, as shown at 11:39.
- Open My Documents from the sidebar.
- Select the document to open its overview page.
- Find the signer, open the more options menu and select Manual Verification.
- Check the uploaded ID, then select Mark as Verified when it is valid.
The signer can then open the document without another check. Our help article on how to manually review uploaded documents covers the review. You can also download the verification data from the recipient details screen.
What should you watch out for?
Most failed checks come from small mismatches you can prevent. Keep these in mind before you send.
- Enter the signer’s legal name, not a short form or nickname.
- Text in Arabic, Chinese, Cyrillic, Greek, Hebrew, Japanese, Korean, Tamil or Thai script cannot be read from an ID.
- Retries count as new checks and are charged.
- Tell signers they will need their ID and a camera.
Remote hiring raises its own questions. Our guide to verifying employee identity in remote onboarding covers that case.
Which plan do you need for ID verification, and what does it cost?
ID verification works on the Business, Premium and Enterprise API plans. Each completed check costs $2, pass or fail, on top of the plan price, as listed on the BoldSign pricing page in November 2026.
The Business plan costs $15 per user a month and the Premium plan costs $99 a month for unlimited users. Both prices are billed yearly and are in USD.
Developers can add ID verification through the API. Live use needs the Enterprise API plan, from $30 a month with 40 envelopes, and you can test first in a free sandbox. Trial accounts include no ID verification credits.
How do you start protecting your agreements with ID verification?
Watch the recording, then try the settings on a test document sent to yourself.
- Start a 30-day free trial and explore how documents are set up.
- Book a demo to see ID verification set up for your documents.
- Browse our identity verification help articles, or reach us through live chat or the support portal.
Frequently asked questions
What happens when a signer fails ID verification?
The signer can try again until they reach the attempt limit you set, from 1 to 10. After that, you can reset their attempts or review their upload yourself and mark it as verified.
Which ID documents can signers use?
Passports and driver's licenses are accepted by default. You can also allow national ID cards when your policy permits them, and you can limit which issuing countries you accept.
Does the signer have to verify their ID every time they open the document?
That depends on the frequency you choose. Every Access asks each time, Until Signed stops asking once they sign, and Once per Document asks only once.
Can signers verify their ID in other languages?
Yes. You can set a language for each signer, and their emails and signing pages arrive in that language. Our help article on how to change the language for signers lists the 20 languages.
Is there an API for ID verification?
Yes. You set a signer's authentication type to ID verification through our API, along with the same settings as the web app. Our API getting started guide shows the first steps.
Do you have a free developer account for testing the API?
Yes. You can test the API in a free API sandbox account at no charge. Live API use needs the Enterprise API plan.
Where does BoldSign store data for UK and European customers?
You choose a data region when you sign up: US, EU, Canada or Australia. Our General Data Protection Regulation (GDPR) overview explains how we handle personal data.
How much does BoldSign ID verification cost?
Each completed check costs $2, pass or fail, on top of a plan that includes ID verification. The Business plan starts at $15 per user a month, billed yearly.

Carter Harris
Carter is the Video Marketing Specialist at Syncfusion. He is in charge of managing the Syncfusion YouTube channel as well as webinars produced through Syncfusion. Connect with him on LinkedIn.
More posts by Carter Harris